JavaScript DOM Manipulation for Beginners: Make Your Webpage Interactive
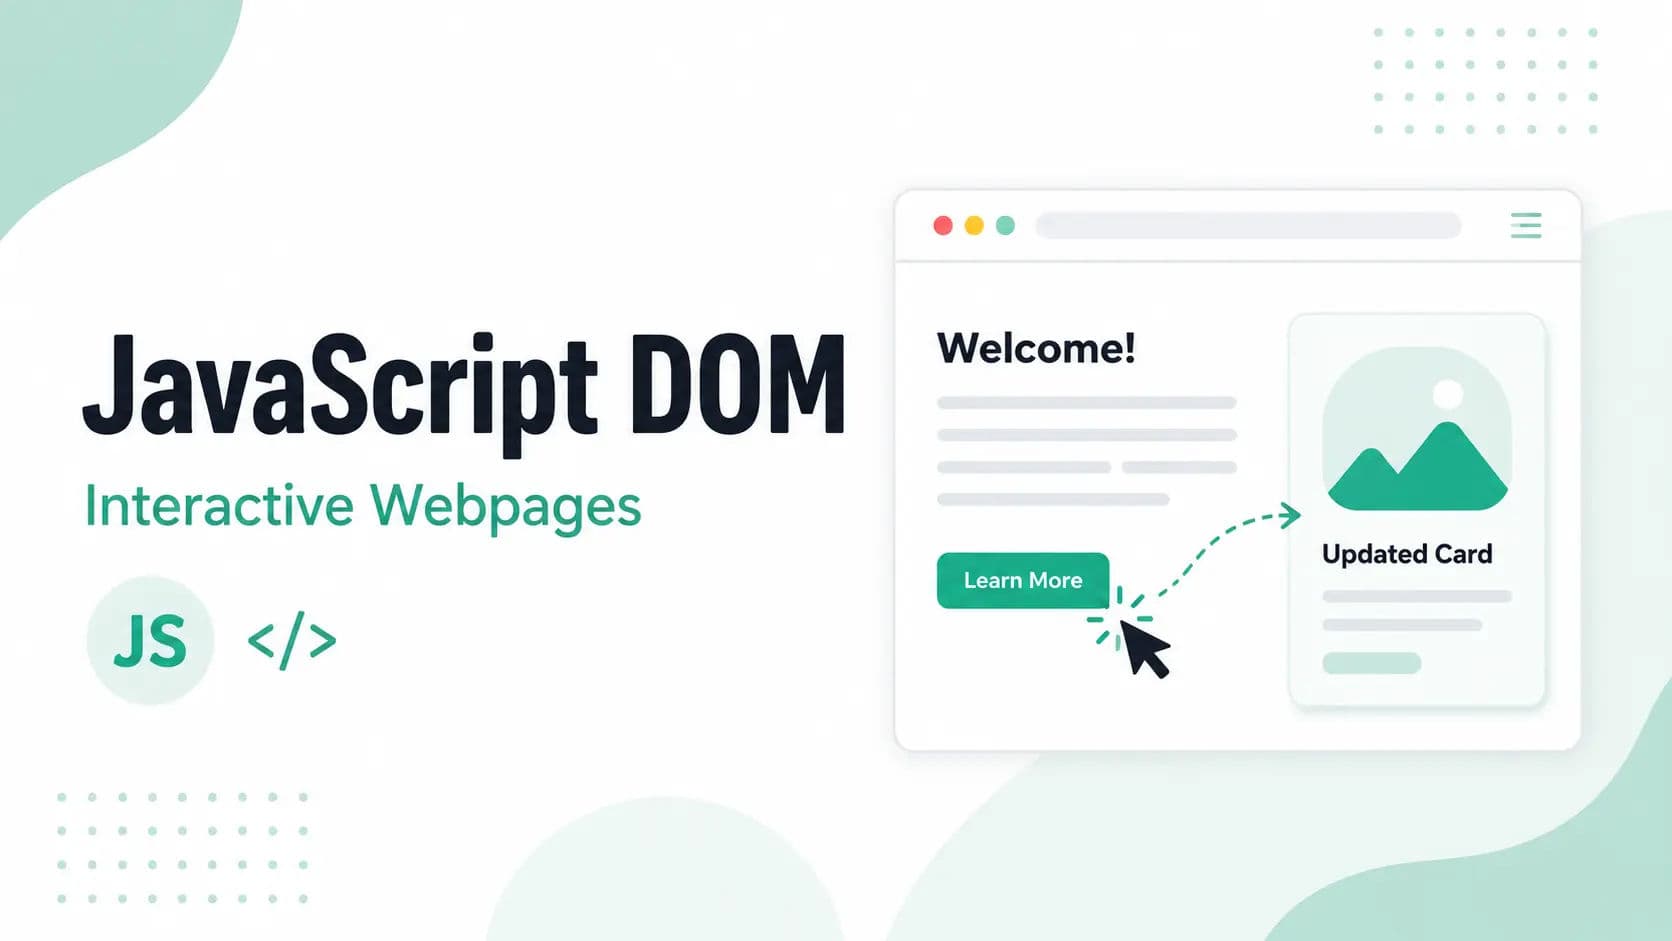
HTML creates the structure of a webpage. CSS makes that webpage look beautiful. But if you want to make your webpage interactive, you need JavaScript.
With JavaScript, you can change text, update styles, show or hide elements, validate forms, handle button clicks, create new content, and respond to user actions.
This is where DOM manipulation becomes important.
DOM manipulation is one of the first practical JavaScript skills every beginner should learn. It helps you connect JavaScript with HTML and CSS.
In this guide, you will learn what the DOM is, how to select HTML elements, how to change content, how to update styles, and how to make a webpage interactive using simple JavaScript examples.
What Is the DOM?
DOM stands for Document Object Model.
When a browser loads an HTML page, it creates a tree-like structure of that page. This structure is called the DOM.
JavaScript can use the DOM to access and change HTML elements.
For example, if your HTML has a heading:
html
<h1>Hello World</h1>JavaScript can select this heading and change its text.
The DOM allows JavaScript to interact with the webpage.
You can think of the DOM like a bridge between HTML and JavaScript.
Why Is DOM Manipulation Important?
DOM manipulation is important because it allows you to create interactive webpages.
Without DOM manipulation, your webpage is mostly static. Users can read content, but the page cannot easily respond to their actions.
With DOM manipulation, you can create:
- Button click effects
- Show and hide sections
- Form validation
- Image sliders
- Tabs
- Dropdown menus
- Accordions
- Dark mode
- To-do lists
- Dynamic content
For beginners, DOM manipulation is the point where JavaScript starts feeling useful.
Basic HTML Example
Before writing JavaScript, let’s create a simple HTML structure.
html
<!DOCTYPE html>
<html>
<head>
    <title>DOM Manipulation Example</title>
</head>
<body>

    <h1 id="title">Welcome to JavaScript</h1>
    <p id="message">Click the button to change this text.</p>
    <button id="btn">Click Me</button>

</body>
</html>
In this example, we have:
- One heading
- One paragraph
- One button
Now we can use JavaScript to select and change these elements.
Selecting an Element with getElementById
The getElementById() method is used to select an HTML element by its id.
Example:
html
<h1 id="title">Welcome to JavaScript</h1>

<script>
    const heading = document.getElementById("title");
    console.log(heading);
</script>
Here, JavaScript selects the element with the id title.
The selected element is stored in the heading variable.
This is one of the easiest ways to select an element.
Changing Text with JavaScript
After selecting an element, you can change its text.
Example:
html
<h1 id="title">Welcome to JavaScript</h1>

<script>
    const heading = document.getElementById("title");
    heading.innerHTML = "DOM Manipulation is Easy!";
</script>
Output on the page will change from:
text
Welcome to JavaScriptto:
text
DOM Manipulation is Easy!The innerHTML property changes the HTML content inside an element.
You can also use textContent when you only want to change plain text.
Example:
html
<h1 id="title">Hello</h1>

<script>
    document.getElementById("title").textContent = "Hello JavaScript!";
</script>
For simple text changes, textContent is often a clean option.
Selecting Elements with querySelector
The querySelector() method selects the first element that matches a CSS selector.
Example:
html
<h1 class="heading">Learn JavaScript</h1>

<script>
    const title = document.querySelector(".heading");
    title.textContent = "Learn DOM Manipulation";
</script>
Here, .heading is a CSS class selector.
You can use querySelector() with:
text
#id
.class
tag
Examples:
js
document.querySelector("#title");
document.querySelector(".box");
document.querySelector("p");
This method is flexible because it works like CSS selectors.
Selecting Multiple Elements with querySelectorAll
The querySelectorAll() method selects all elements that match a CSS selector.
Example:
html
<p class="item">HTML</p>
<p class="item">CSS</p>
<p class="item">JavaScript</p>

<script>
    const items = document.querySelectorAll(".item");

    items.forEach(function(item) {
        item.style.color = "#29AB87";
    });
</script>
This selects all elements with the class item and changes their text color.
Use querySelectorAll() when you want to work with multiple elements.
Changing CSS Styles with JavaScript
You can also change CSS styles using JavaScript.
Example:
html
<p id="text">This is a paragraph.</p>

<script>
    const paragraph = document.getElementById("text");

    paragraph.style.color = "#29AB87";
    paragraph.style.fontSize = "24px";
    paragraph.style.fontWeight = "bold";
</script>
This changes:
- Text color
- Font size
- Font weight
In JavaScript, CSS properties with hyphens are written in camelCase.
Example:
text
font-size      → fontSize
background-color → backgroundColor
border-radius  → borderRadius
Example:
js
element.style.backgroundColor = "lightblue";
element.style.borderRadius = "8px";
Handling Button Clicks
One of the most common uses of JavaScript is handling button clicks.
Example:
html
<h1 id="title">Hello</h1>
<button id="btn">Change Text</button>

<script>
    const title = document.getElementById("title");
    const button = document.getElementById("btn");

    button.addEventListener("click", function() {
        title.textContent = "Button Clicked!";
    });
</script>
Here, addEventListener() waits for a click on the button.
When the button is clicked, the heading text changes.
This is a simple example of interactivity.
Showing and Hiding Elements
You can use JavaScript to show or hide elements.
Example:
html
<p id="message">This message can be hidden.</p>
<button id="hideBtn">Hide Message</button>

<script>
    const message = document.getElementById("message");
    const hideBtn = document.getElementById("hideBtn");

    hideBtn.addEventListener("click", function() {
        message.style.display = "none";
    });
</script>
When the button is clicked, the paragraph disappears.
You can also show it again:
html
<p id="message">This message can be shown or hidden.</p>

<button id="hideBtn">Hide</button>
<button id="showBtn">Show</button>

<script>
    const message = document.getElementById("message");

    document.getElementById("hideBtn").addEventListener("click", function() {
        message.style.display = "none";
    });

    document.getElementById("showBtn").addEventListener("click", function() {
        message.style.display = "block";
    });
</script>
This type of logic is used in dropdowns, popups, accordions, and menus.
Adding and Removing CSS Classes
Changing styles directly with JavaScript works, but for bigger projects, it is better to add or remove CSS classes.
Example:
html
<p id="text">This is an important message.</p>
<button id="btn">Highlight</button>

<style>
    .highlight {
        background-color: #29AB87;
        color: white;
        padding: 10px;
        border-radius: 6px;
    }
</style>

<script>
    const text = document.getElementById("text");
    const btn = document.getElementById("btn");

    btn.addEventListener("click", function() {
        text.classList.add("highlight");
    });
</script>
The classList.add() method adds a CSS class to an element.
You can also remove a class:
js
text.classList.remove("highlight");Or toggle a class:
js
text.classList.toggle("highlight");The toggle() method adds the class if it is not present and removes it if it is already present.
This is very useful for dark mode, menus, tabs, and accordions.
Dark Mode Example
Here is a simple dark mode example using classList.toggle().
html
<button id="themeBtn">Toggle Dark Mode</button>

<h1>Welcome</h1>
<p>This is a simple dark mode example.</p>

<style>
    body {
        font-family: Arial, sans-serif;
        background-color: white;
        color: #222;
    }

    .dark-mode {
        background-color: #222;
        color: white;
    }
</style>

<script>
    const button = document.getElementById("themeBtn");

    button.addEventListener("click", function() {
        document.body.classList.toggle("dark-mode");
    });
</script>
When the button is clicked, the page switches between light mode and dark mode.
This is a common use of DOM manipulation.
Working with Input Fields
JavaScript can also read values from input fields.
Example:
html
<input type="text" id="nameInput" placeholder="Enter your name">
<button id="btn">Show Name</button>

<p id="result"></p>

<script>
    const input = document.getElementById("nameInput");
    const button = document.getElementById("btn");
    const result = document.getElementById("result");

    button.addEventListener("click", function() {
        result.textContent = "Hello, " + input.value;
    });
</script>
Here, input.value gets the value entered by the user.
If the user types John, the result will be:
text
Hello, JohnThis is useful for forms, search boxes, calculators, and user input features.
Simple Form Validation
You can use JavaScript to check whether a user has entered required information.
Example:
html
<form id="loginForm">
    <input type="text" id="username" placeholder="Enter username">
    <button type="submit">Login</button>
</form>

<p id="error"></p>

<script>
    const form = document.getElementById("loginForm");
    const username = document.getElementById("username");
    const error = document.getElementById("error");

    form.addEventListener("submit", function(event) {
        event.preventDefault();

        if (username.value === "") {
            error.textContent = "Username is required.";
            error.style.color = "red";
        } else {
            error.textContent = "Form submitted successfully.";
            error.style.color = "green";
        }
    });
</script>
The event.preventDefault() method stops the form from submitting immediately.
This allows JavaScript to check the input first.
Creating New Elements
JavaScript can also create new HTML elements.
Example:
html
<div id="container"></div>

<script>
    const container = document.getElementById("container");

    const paragraph = document.createElement("p");
    paragraph.textContent = "This paragraph was created with JavaScript.";

    container.appendChild(paragraph);
</script>
Here:
createElement()creates a new HTML element.textContentadds text.appendChild()adds the new element inside another element.
This is useful when creating dynamic content.
Removing Elements
You can remove an element from the page using JavaScript.
Example:
html
<p id="message">This message will be removed.</p>
<button id="removeBtn">Remove</button>

<script>
    const message = document.getElementById("message");
    const removeBtn = document.getElementById("removeBtn");

    removeBtn.addEventListener("click", function() {
        message.remove();
    });
</script>
When the button is clicked, the paragraph is removed from the page.
This is useful for removing items from lists, notifications, or cards.
Simple DOM Project: To-Do List
Now let’s create a simple project using DOM manipulation.
In this project, users can type a task and add it to a list.
html
<!DOCTYPE html>
<html>
<head>
    <title>Simple To-Do List</title>
    <style>
        body {
            font-family: Arial, sans-serif;
            background-color: #f5f7fa;
            padding: 40px;
        }

        .todo-box {
            max-width: 500px;
            margin: auto;
            background-color: white;
            padding: 25px;
            border-radius: 10px;
        }

        h1 {
            text-align: center;
            color: #222;
        }

        .input-group {
            display: flex;
            gap: 10px;
        }

        input {
            flex: 1;
            padding: 12px;
            border: 1px solid #ccc;
            border-radius: 6px;
        }

        button {
            background-color: #29AB87;
            color: white;
            border: none;
            padding: 12px 16px;
            border-radius: 6px;
            cursor: pointer;
        }

        li {
            background-color: #f5f7fa;
            margin-top: 10px;
            padding: 10px;
            border-radius: 6px;
        }
    </style>
</head>
<body>

    <div class="todo-box">
        <h1>To-Do List</h1>

        <div class="input-group">
            <input type="text" id="taskInput" placeholder="Enter a task">
            <button id="addBtn">Add</button>
        </div>

        <ul id="taskList"></ul>
    </div>

    <script>
        const taskInput = document.getElementById("taskInput");
        const addBtn = document.getElementById("addBtn");
        const taskList = document.getElementById("taskList");

        addBtn.addEventListener("click", function() {
            if (taskInput.value === "") {
                alert("Please enter a task");
                return;
            }

            const li = document.createElement("li");
            li.textContent = taskInput.value;

            taskList.appendChild(li);

            taskInput.value = "";
        });
    </script>

</body>
</html>
This project uses:
- Element selection
- Button click event
- Input value
- Creating a new element
- Adding an element to the page
- Clearing the input field
This is a perfect beginner project for practicing DOM manipulation.
Common Beginner Mistakes
Beginners often make some common mistakes while learning DOM manipulation.
Mistake 1: Running JavaScript Before HTML Loads
If JavaScript runs before the HTML element exists, it may not work.
Bad example:
html
<script>
    const title = document.getElementById("title");
    title.textContent = "Hello";
</script>

<h1 id="title">Welcome</h1>
Here, JavaScript tries to select the heading before it appears in the HTML.
Better example:
html
<h1 id="title">Welcome</h1>

<script>
    const title = document.getElementById("title");
    title.textContent = "Hello";
</script>
Code example
html
Place the script before the closing `</body>` tag, or use `defer` when linking an external JavaScript file.Mistake 2: Forgetting the # or . in querySelector
When using querySelector(), remember that it works like CSS selectors.
Wrong:
js
document.querySelector("title");If you want to select an id called title, use:
js
document.querySelector("#title");If you want to select a class called title, use:
js
document.querySelector(".title");Mistake 3: Using innerHTML for Everything
innerHTML can change HTML content, but it should be used carefully.
For simple text, use textContent.
Example:
js
element.textContent = "Hello JavaScript";This is cleaner when you only need to update text.
Mistake 4: Writing Too Much Inline JavaScript
Beginners sometimes write JavaScript directly in HTML attributes.
Example:
html
<button onclick="changeText()">Click Me</button>This works, but for better code organization, use addEventListener().
Better:
js
button.addEventListener("click", function() {
    title.textContent = "Changed";
});
This keeps HTML and JavaScript more organized.
Mistake 5: Not Using Meaningful Names
Avoid confusing variable names.
Bad:
js
const x = document.getElementById("title");Better:
js
const title = document.getElementById("title");Meaningful names make your code easier to read.
Best Practices for DOM Manipulation
Follow these simple best practices:
- Use clear and meaningful ids and class names.
- Place JavaScript at the end of the body or use
defer. - Use
textContentfor simple text changes. - Use
classListfor style changes. - Use
addEventListener()for events. - Keep HTML, CSS, and JavaScript organized.
- Avoid repeating the same code.
- Test your code in the browser console.
- Start with small examples before building bigger projects.
These habits will help you write cleaner JavaScript.
DOM Manipulation Learning Path
If you are a beginner, learn DOM manipulation in this order:
1. Understand what the DOM is.
2. Select elements with getElementById().
3. Select elements with querySelector().
4. Change text using textContent.
5. Change styles using style.
6. Add and remove classes using classList.
7. Handle click events with addEventListener().
8. Work with input values.
9. Create new elements.
10. Build small projects.
This learning path keeps things simple and practical.
Final Thoughts
JavaScript DOM manipulation is one of the most important skills for beginners.
It helps you move from static webpages to interactive webpages.
With DOM manipulation, you can select HTML elements, change text, update styles, handle button clicks, read input values, create new elements, and build small interactive projects.
You do not need to learn everything in one day. Start with simple examples like changing text on button click. Then practice show/hide sections, dark mode, form validation, and to-do lists.
Once you understand DOM manipulation, JavaScript becomes much more useful and exciting.
The best way to learn is simple:
Pick one small idea, build it, test it, and improve it.
That is how you become confident with JavaScript.

Author
Swapnil Raja
Founder of HTML5ANDCSS3.org and creator of its tutorials and tools.
Focused on practical frontend learning through real examples and hands-on utilities.
View profile