JavaScript Events Explained for Beginners with Simple Examples
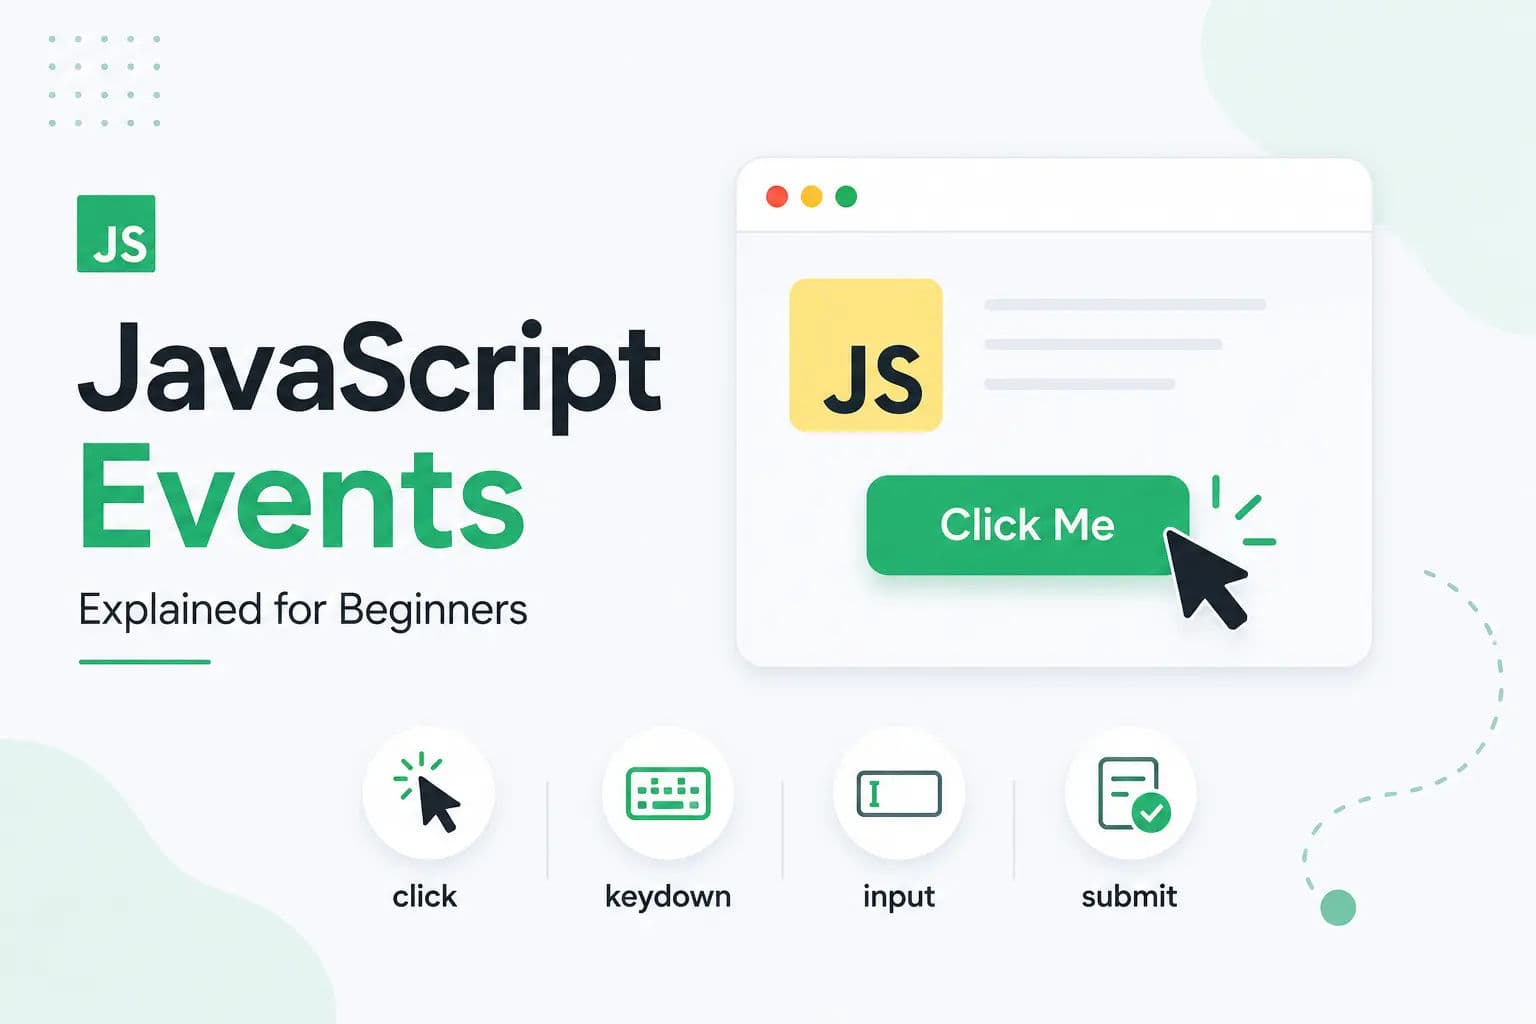
JavaScript makes webpages interactive. But how does a webpage know when a user clicks a button, types in an input field, submits a form, or presses a key?
This is where JavaScript events come in.
Events are actions that happen in the browser. These actions can be done by the user or by the browser itself. For example, a click, a key press, a form submission, page loading, mouse movement, or input change can all be events.
If you want to build interactive websites, you must understand JavaScript events.
In this beginner-friendly guide, you will learn what JavaScript events are, why they are important, how to use addEventListener(), and how to handle common events with simple examples.
What Are JavaScript Events?
A JavaScript event is something that happens on a webpage.
For example:
- A user clicks a button.
- A user types in an input field.
- A user submits a form.
- A user moves the mouse over an element.
- A user presses a keyboard key.
- A webpage finishes loading.
JavaScript can listen for these events and run code when they happen.
Example:
html
<button id="btn">Click Me</button>

<script>
    const button = document.getElementById("btn");

    button.addEventListener("click", function() {
        alert("Button clicked!");
    });
</script>
In this example, JavaScript listens for a click event on the button. When the button is clicked, an alert message appears.
Why Are JavaScript Events Important?
Events are important because they allow webpages to respond to user actions.
Without events, a webpage would mostly stay static. Users could read the page, but the page would not react much to their actions.
With JavaScript events, you can create:
- Button click actions
- Form validation
- Dropdown menus
- Mobile menus
- Image sliders
- Tabs
- Accordions
- Search suggestions
- Dark mode toggles
- Interactive forms
- Keyboard shortcuts
Events are one of the most important parts of JavaScript because they connect user actions with webpage behavior.
Common JavaScript Events
There are many JavaScript events, but beginners should start with the most common ones.
| Event | When It Happens |
|---|---|
<code>click</code> | When an element is clicked |
<code>dblclick</code> | When an element is double-clicked |
<code>mouseover</code> | When the mouse moves over an element |
<code>mouseout</code> | When the mouse leaves an element |
<code>input</code> | When the value of an input changes |
<code>change</code> | When an input value changes and loses focus |
<code>submit</code> | When a form is submitted |
<code>keydown</code> | When a keyboard key is pressed |
<code>keyup</code> | When a keyboard key is released |
<code>load</code> | When the page or resource finishes loading |
You do not need to memorize all events at once. Start with click, input, submit, and keydown.
These are enough to build many beginner projects.
Two Ways to Handle Events
There are two common ways to handle JavaScript events:
- Inline event attributes
addEventListener()
Let’s understand both.
Inline Event Attribute
You can write an event directly inside HTML.
Example:
html
<button onclick="showMessage()">Click Me</button>

<script>
    function showMessage() {
        alert("Hello!");
    }
</script>
This works, but it mixes HTML and JavaScript together.
For small examples, it may look simple. But in real projects, it becomes harder to manage.
addEventListener Method
The better and cleaner way is to use addEventListener().
Example:
html
<button id="btn">Click Me</button>

<script>
    const button = document.getElementById("btn");

    button.addEventListener("click", function() {
        alert("Hello!");
    });
</script>
This keeps HTML and JavaScript separate.
For beginners, it is better to learn addEventListener() because it is widely used in real JavaScript projects.
Basic Syntax of addEventListener
The syntax is:
js
element.addEventListener("eventName", function() {
    // code to run
});
Example:
js
button.addEventListener("click", function() {
    console.log("Button was clicked");
});
Here:
buttonis the selected element."click"is the event name.- The function runs when the click event happens.
You can think of it like this:
When this event happens, run this function.
Click Event Example
The click event is used when a user clicks an element.
Example:
html
<h1 id="title">Welcome</h1>
<button id="btn">Change Text</button>

<script>
    const title = document.getElementById("title");
    const button = document.getElementById("btn");

    button.addEventListener("click", function() {
        title.textContent = "Text changed with JavaScript!";
    });
</script>
When the button is clicked, the heading text changes.
This is one of the simplest examples of JavaScript events.
Click Event with CSS Class
You can also use a click event to add or remove CSS classes.
Example:
html
<button id="themeBtn">Toggle Highlight</button>

<p id="text">This text will be highlighted.</p>

<style>
    .highlight {
        background-color: #29AB87;
        color: white;
        padding: 10px;
        border-radius: 6px;
    }
</style>

<script>
    const button = document.getElementById("themeBtn");
    const text = document.getElementById("text");

    button.addEventListener("click", function() {
        text.classList.toggle("highlight");
    });
</script>
The classList.toggle() method adds the class if it is not present and removes it if it is already present.
This is useful for:
- Dark mode
- Mobile menus
- Accordions
- Tabs
- Highlight effects
Input Event Example
The input event runs whenever the value of an input field changes.
Example:
html
<input type="text" id="nameInput" placeholder="Type your name">

<p id="output"></p>

<script>
    const input = document.getElementById("nameInput");
    const output = document.getElementById("output");

    input.addEventListener("input", function() {
        output.textContent = "You typed: " + input.value;
    });
</script>
When the user types something, the paragraph updates immediately.
If the user types John, the output becomes:
text
You typed: JohnThis is useful for:
- Live search
- Character counters
- Real-time form feedback
- Input previews
Change Event Example
The change event is different from the input event.
The input event runs immediately while typing. The change event usually runs when the value changes and the user leaves the field or selects a new option.
Example:
html
<select id="language">
    <option value="">Choose a language</option>
    <option value="HTML">HTML</option>
    <option value="CSS">CSS</option>
    <option value="JavaScript">JavaScript</option>
</select>

<p id="result"></p>

<script>
    const language = document.getElementById("language");
    const result = document.getElementById("result");

    language.addEventListener("change", function() {
        result.textContent = "You selected: " + language.value;
    });
</script>
This is useful for dropdowns, checkboxes, radio buttons, and select fields.
Submit Event Example
The submit event runs when a form is submitted.
Example:
html
<form id="contactForm">
    <input type="text" id="name" placeholder="Enter your name">
    <button type="submit">Submit</button>
</form>

<p id="message"></p>

<script>
    const form = document.getElementById("contactForm");
    const nameInput = document.getElementById("name");
    const message = document.getElementById("message");

    form.addEventListener("submit", function(event) {
        event.preventDefault();

        if (nameInput.value === "") {
            message.textContent = "Please enter your name.";
            message.style.color = "red";
        } else {
            message.textContent = "Form submitted successfully!";
            message.style.color = "green";
        }
    });
</script>
Here, event.preventDefault() stops the form from submitting immediately.
This allows JavaScript to check the input first.
The submit event is commonly used for form validation.
What Is event.preventDefault()?
The preventDefault() method stops the default behavior of an event.
For example, when a form is submitted, the browser normally reloads the page or sends the form data.
If you want to validate the form using JavaScript first, you can stop that default behavior.
Example:
js
form.addEventListener("submit", function(event) {
    event.preventDefault();
});
This is very useful in:
- Form validation
- Search forms
- Login forms
- Signup forms
- Custom submit behavior
Use it when you want JavaScript to control what happens next.
Mouseover and Mouseout Events
The mouseover event runs when the mouse pointer moves over an element.
The mouseout event runs when the mouse pointer leaves an element.
Example:
html
<div id="box">Hover over me</div>

<style>
    #box {
        width: 200px;
        padding: 30px;
        background-color: #f5f7fa;
        text-align: center;
        border-radius: 8px;
    }
</style>

<script>
    const box = document.getElementById("box");

    box.addEventListener("mouseover", function() {
        box.style.backgroundColor = "#29AB87";
        box.style.color = "white";
    });

    box.addEventListener("mouseout", function() {
        box.style.backgroundColor = "#f5f7fa";
        box.style.color = "black";
    });
</script>
This can be used for hover effects, tooltips, menus, and interactive cards.
However, simple hover styles can often be done with CSS using :hover.
Use JavaScript mouse events when you need more logic than CSS can provide.
Keyboard Event Example
Keyboard events happen when a user presses or releases a key.
Common keyboard events:
keydownkeyup
Example:
html
<input type="text" id="textInput" placeholder="Press any key">
<p id="keyInfo"></p>

<script>
    const input = document.getElementById("textInput");
    const keyInfo = document.getElementById("keyInfo");

    input.addEventListener("keydown", function(event) {
        keyInfo.textContent = "You pressed: " + event.key;
    });
</script>
If the user presses the A key, the output will be:
text
You pressed: aKeyboard events are useful for:
- Search shortcuts
- Game controls
- Form navigation
- Keyboard accessibility
- Custom input behavior
What Is the Event Object?
When an event happens, JavaScript gives you information about that event.
This information is stored in the event object.
Example:
html
<button id="btn">Click Me</button>

<script>
    const button = document.getElementById("btn");

    button.addEventListener("click", function(event) {
        console.log(event);
    });
</script>
The event object can tell you things like:
- Which element triggered the event
- Which key was pressed
- Mouse position
- Event type
- Form behavior
Example:
js
button.addEventListener("click", function(event) {
    console.log(event.type);
    console.log(event.target);
});
Here:
event.typegives the event name.event.targetgives the element that triggered the event.
Using event.target
The event.target property gives the element that started the event.
Example:
html
<button class="btn">HTML</button>
<button class="btn">CSS</button>
<button class="btn">JavaScript</button>

<p id="result"></p>

<script>
    const buttons = document.querySelectorAll(".btn");
    const result = document.getElementById("result");

    buttons.forEach(function(button) {
        button.addEventListener("click", function(event) {
            result.textContent = "You clicked: " + event.target.textContent;
        });
    });
</script>
When a button is clicked, JavaScript shows which button was clicked.
This is useful when working with multiple buttons or list items.
Event Bubbling in Simple Words
Event bubbling means an event starts from the element where it happened and then moves up to its parent elements.
Example:
html
<div id="parent">
    <button id="child">Click Me</button>
</div>
If the button is clicked, the event happens on the button first. Then it can move up to the parent <div>.
This is called bubbling.
Beginners do not need to go too deep into event bubbling at first, but it is useful to know because it explains why events sometimes affect parent elements too.
Event Delegation
Event delegation means adding one event listener to a parent element instead of adding event listeners to many child elements.
Example:
html
<ul id="menu">
    <li>HTML</li>
    <li>CSS</li>
    <li>JavaScript</li>
</ul>

<p id="result"></p>

<script>
    const menu = document.getElementById("menu");
    const result = document.getElementById("result");

    menu.addEventListener("click", function(event) {
        if (event.target.tagName === "LI") {
            result.textContent = "You clicked: " + event.target.textContent;
        }
    });
</script>
Here, instead of adding click events to each <li>, we add one click event to the <ul>.
This is useful when:
- You have many items
- Items are added dynamically
- You want cleaner code
Simple Event-Based Project: Character Counter
Let’s create a simple character counter using JavaScript events.
This project uses the input event.
html
<!DOCTYPE html>
<html>
<head>
    <title>Character Counter</title>
    <style>
        body {
            font-family: Arial, sans-serif;
            background-color: #f5f7fa;
            padding: 40px;
        }

        .counter-box {
            max-width: 500px;
            margin: auto;
            background-color: white;
            padding: 25px;
            border-radius: 10px;
        }

        textarea {
            width: 100%;
            height: 120px;
            padding: 12px;
            border: 1px solid #ccc;
            border-radius: 6px;
            resize: none;
        }

        .count {
            margin-top: 10px;
            color: #29AB87;
            font-weight: bold;
        }
    </style>
</head>
<body>

    <div class="counter-box">
        <h1>Character Counter</h1>

        <textarea id="message" placeholder="Type your message"></textarea>

        <p class="count">Characters: <span id="count">0</span></p>
    </div>

    <script>
        const message = document.getElementById("message");
        const count = document.getElementById("count");

        message.addEventListener("input", function() {
            count.textContent = message.value.length;
        });
    </script>

</body>
</html>
When the user types inside the textarea, the character count updates automatically.
This small project helps you practice:
- Selecting elements
- Input event
- Reading input value
- Updating text content
Simple Event-Based Project: Show and Hide Password
Here is another useful beginner project.
html
<!DOCTYPE html>
<html>
<head>
    <title>Show Hide Password</title>
    <style>
        body {
            font-family: Arial, sans-serif;
            background-color: #f5f7fa;
            padding: 40px;
        }

        .password-box {
            max-width: 400px;
            margin: auto;
            background-color: white;
            padding: 25px;
            border-radius: 10px;
        }

        input {
            width: 100%;
            padding: 12px;
            border: 1px solid #ccc;
            border-radius: 6px;
        }

        button {
            margin-top: 15px;
            background-color: #29AB87;
            color: white;
            border: none;
            padding: 12px 16px;
            border-radius: 6px;
            cursor: pointer;
        }
    </style>
</head>
<body>

    <div class="password-box">
        <h1>Login</h1>

        <input type="password" id="password" placeholder="Enter password">
        <button id="toggleBtn">Show Password</button>
    </div>

    <script>
        const password = document.getElementById("password");
        const toggleBtn = document.getElementById("toggleBtn");

        toggleBtn.addEventListener("click", function() {
            if (password.type === "password") {
                password.type = "text";
                toggleBtn.textContent = "Hide Password";
            } else {
                password.type = "password";
                toggleBtn.textContent = "Show Password";
            }
        });
    </script>

</body>
</html>
This project helps you understand how events can change attributes and text content.
Common Beginner Mistakes
Beginners often make some common mistakes while learning JavaScript events.
Mistake 1: Calling the Function Immediately
Bad example:
js
button.addEventListener("click", showMessage());This calls the function immediately instead of waiting for the click.
Better:
js
button.addEventListener("click", showMessage);Or:
js
button.addEventListener("click", function() {
    showMessage();
});
When using addEventListener(), pass the function reference, not the result of the function call.
Mistake 2: Forgetting to Select the Element
Bad example:
js
button.addEventListener("click", function() {
    alert("Clicked");
});
If button is not selected before this code, JavaScript will show an error.
Better:
js
const button = document.getElementById("btn");

button.addEventListener("click", function() {
    alert("Clicked");
});
Always select the element first.
Mistake 3: JavaScript Runs Before HTML Loads
If JavaScript runs before the HTML element exists, the event may not work.
Bad example:
html
<script>
    const button = document.getElementById("btn");

    button.addEventListener("click", function() {
        alert("Clicked");
    });
</script>

<button id="btn">Click Me</button>
Better:
html
<button id="btn">Click Me</button>

<script>
    const button = document.getElementById("btn");

    button.addEventListener("click", function() {
        alert("Clicked");
    });
</script>
Place your script before the closing </body> tag or use the defer attribute when linking an external JavaScript file.
Mistake 4: Using Inline Events Everywhere
Example:
html
<button onclick="showMessage()">Click Me</button>This works, but it mixes HTML and JavaScript.
Better:
js
button.addEventListener("click", showMessage);Using addEventListener() keeps your code cleaner and easier to manage.
Mistake 5: Not Using preventDefault for Forms
If you are validating a form with JavaScript and forget preventDefault(), the page may reload before your validation message appears.
Example:
js
form.addEventListener("submit", function(event) {
    event.preventDefault();

    // validation code here
});
Use preventDefault() when you want JavaScript to control form behavior.
Best Practices for JavaScript Events
Follow these simple best practices:
- Use
addEventListener()instead of inline event attributes. - Select elements before adding events.
- Use clear variable names.
- Place scripts before
</body>or usedefer. - Use
preventDefault()for custom form handling. - Use
event.targetwhen working with multiple elements. - Use event delegation for lists or dynamic content.
- Keep HTML, CSS, and JavaScript organized.
- Start with simple events before learning advanced concepts.
These habits will help you write cleaner and more professional JavaScript.
Final Thoughts
JavaScript events are one of the most important parts of web development.
They allow your webpage to respond when users click buttons, type text, submit forms, select options, press keys, or interact with page elements.
If DOM manipulation teaches you how to change webpage elements, JavaScript events teach you when to change them.
Start with simple examples like button clicks and input updates. Then practice form validation, show/hide password, character counters, dropdowns, accordions, and tabs.
The more you practice events, the more interactive your websites will become.
Events may look simple at first, but they are used in almost every modern website.
Learn them step by step, build small projects, and you will become much more confident with JavaScript.

Author
Swapnil Raja
Founder of HTML5ANDCSS3.org and creator of its tutorials and tools.
Focused on practical frontend learning through real examples and hands-on utilities.
View profile